
What You'll Learn
- Recognize a qualified Sweep-to-Mean reversal.
- Choose confirmation only after location and failed continuation are established.
- Plan structural invalidation and rotation-to-value targets.
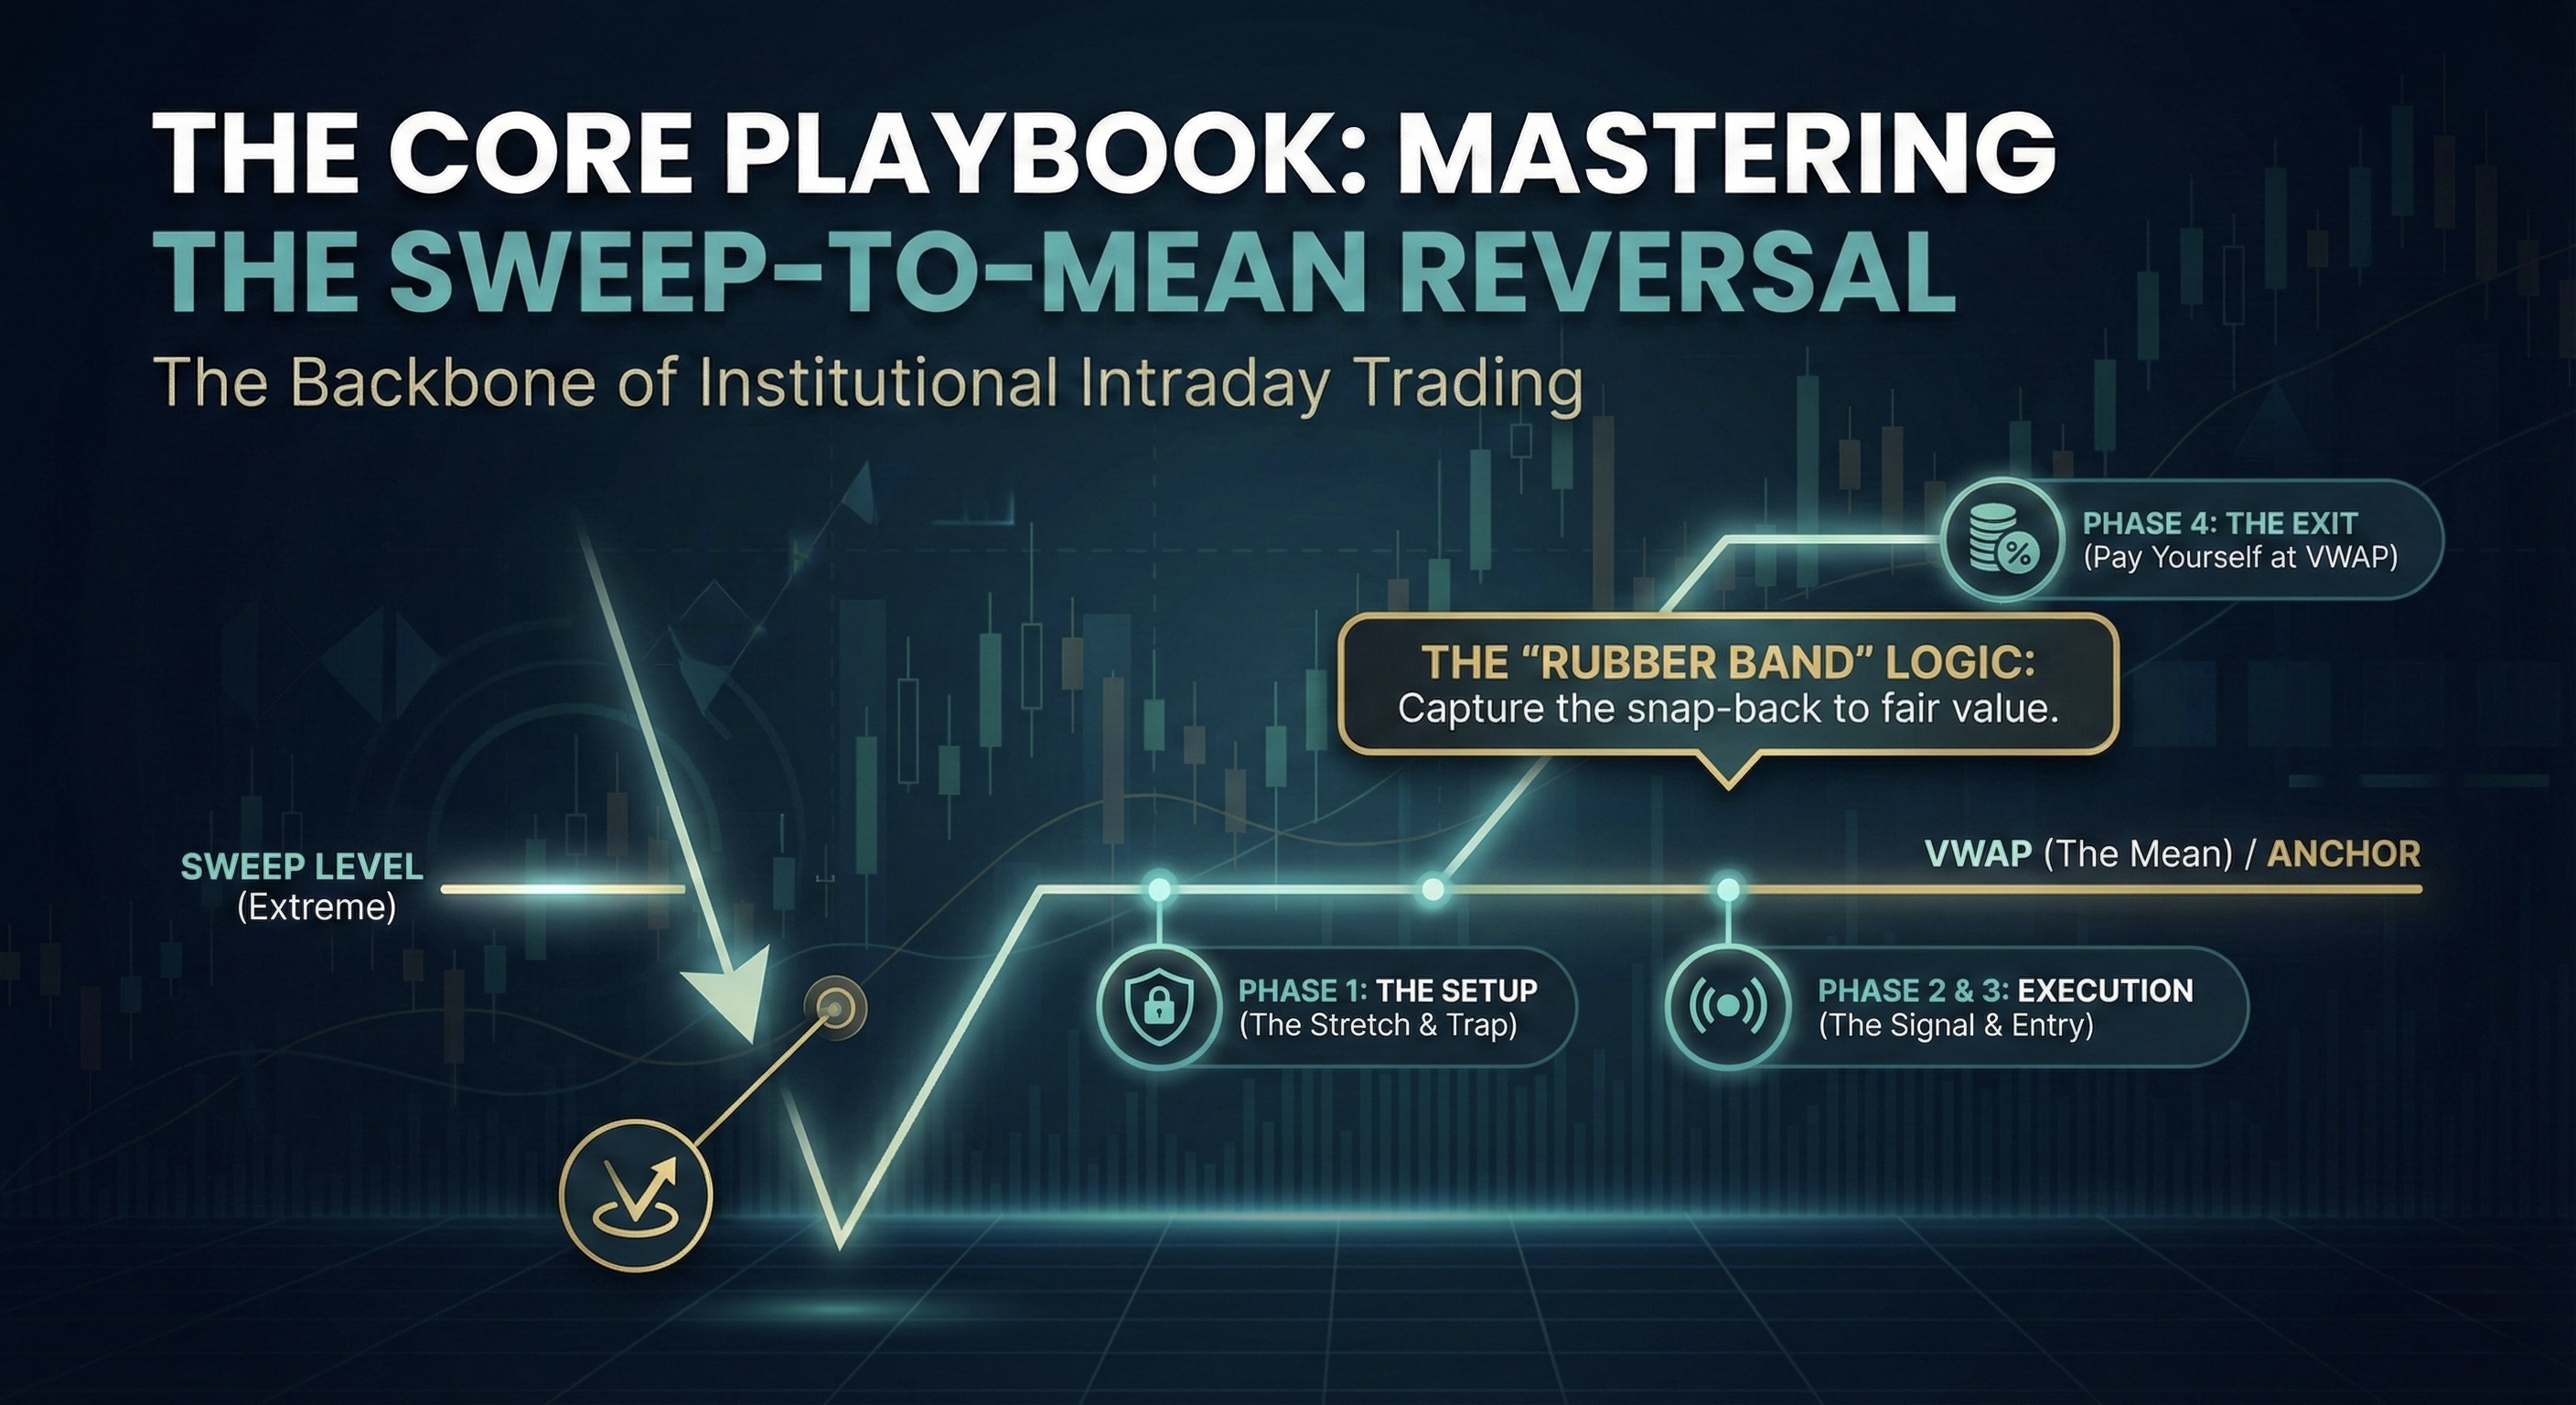
The Core Playbook: Mastering the Sweep-to-Mean Reversal
If you only learn one Elev8+ reversal framework, make it this one.
The Sweep-to-Mean is a structured mean-reversion setup built around a simple sequence: price reaches meaningful external liquidity, fails to sustain the breakout, and then begins rotating back toward value. This guide combines location, confirmation, execution, invalidation, and targeting into one repeatable playbook.
How the 4-Indicator Suite Improves This Setup
You can trade this playbook with Elev8+ Pro alone, but the strongest setups come from different tools answering different questions. Think of it like this:
- Elev8+ Pro tells you when (Triangle/LS confirmation after the liquidity event).
- Market Map tells you where (session liquidity, HTF structure, and the next important objective).
- Market Extremes tells you how stretched price is (true extension vs ordinary mid-range movement).
- Momentum Gaps tells you what structure formed (displacement, FVG/RB retest areas, and rotation checkpoints).
Important: you do not need every layer on every trade. Use independent confluence that adds new information instead of stacking multiple tools that are describing the same event.
The "Rubber Band" Logic
Think of VWAP (Volume Weighted Average Price) as one reference for fair value—not a guaranteed destination. When price becomes extended from value and simultaneously runs a meaningful Sweep Level, a reversal becomes worth evaluating. Elev8+ helps identify the reaction; the trade captures the rotation only after price begins proving that the breakout has failed.
Phase 1: The Setup (The 3-Step Sequence)
A strong Sweep-to-Mean setup follows this order: meaningful location, failed continuation, then confirmation. If the sequence is incomplete, the trade is lower quality.
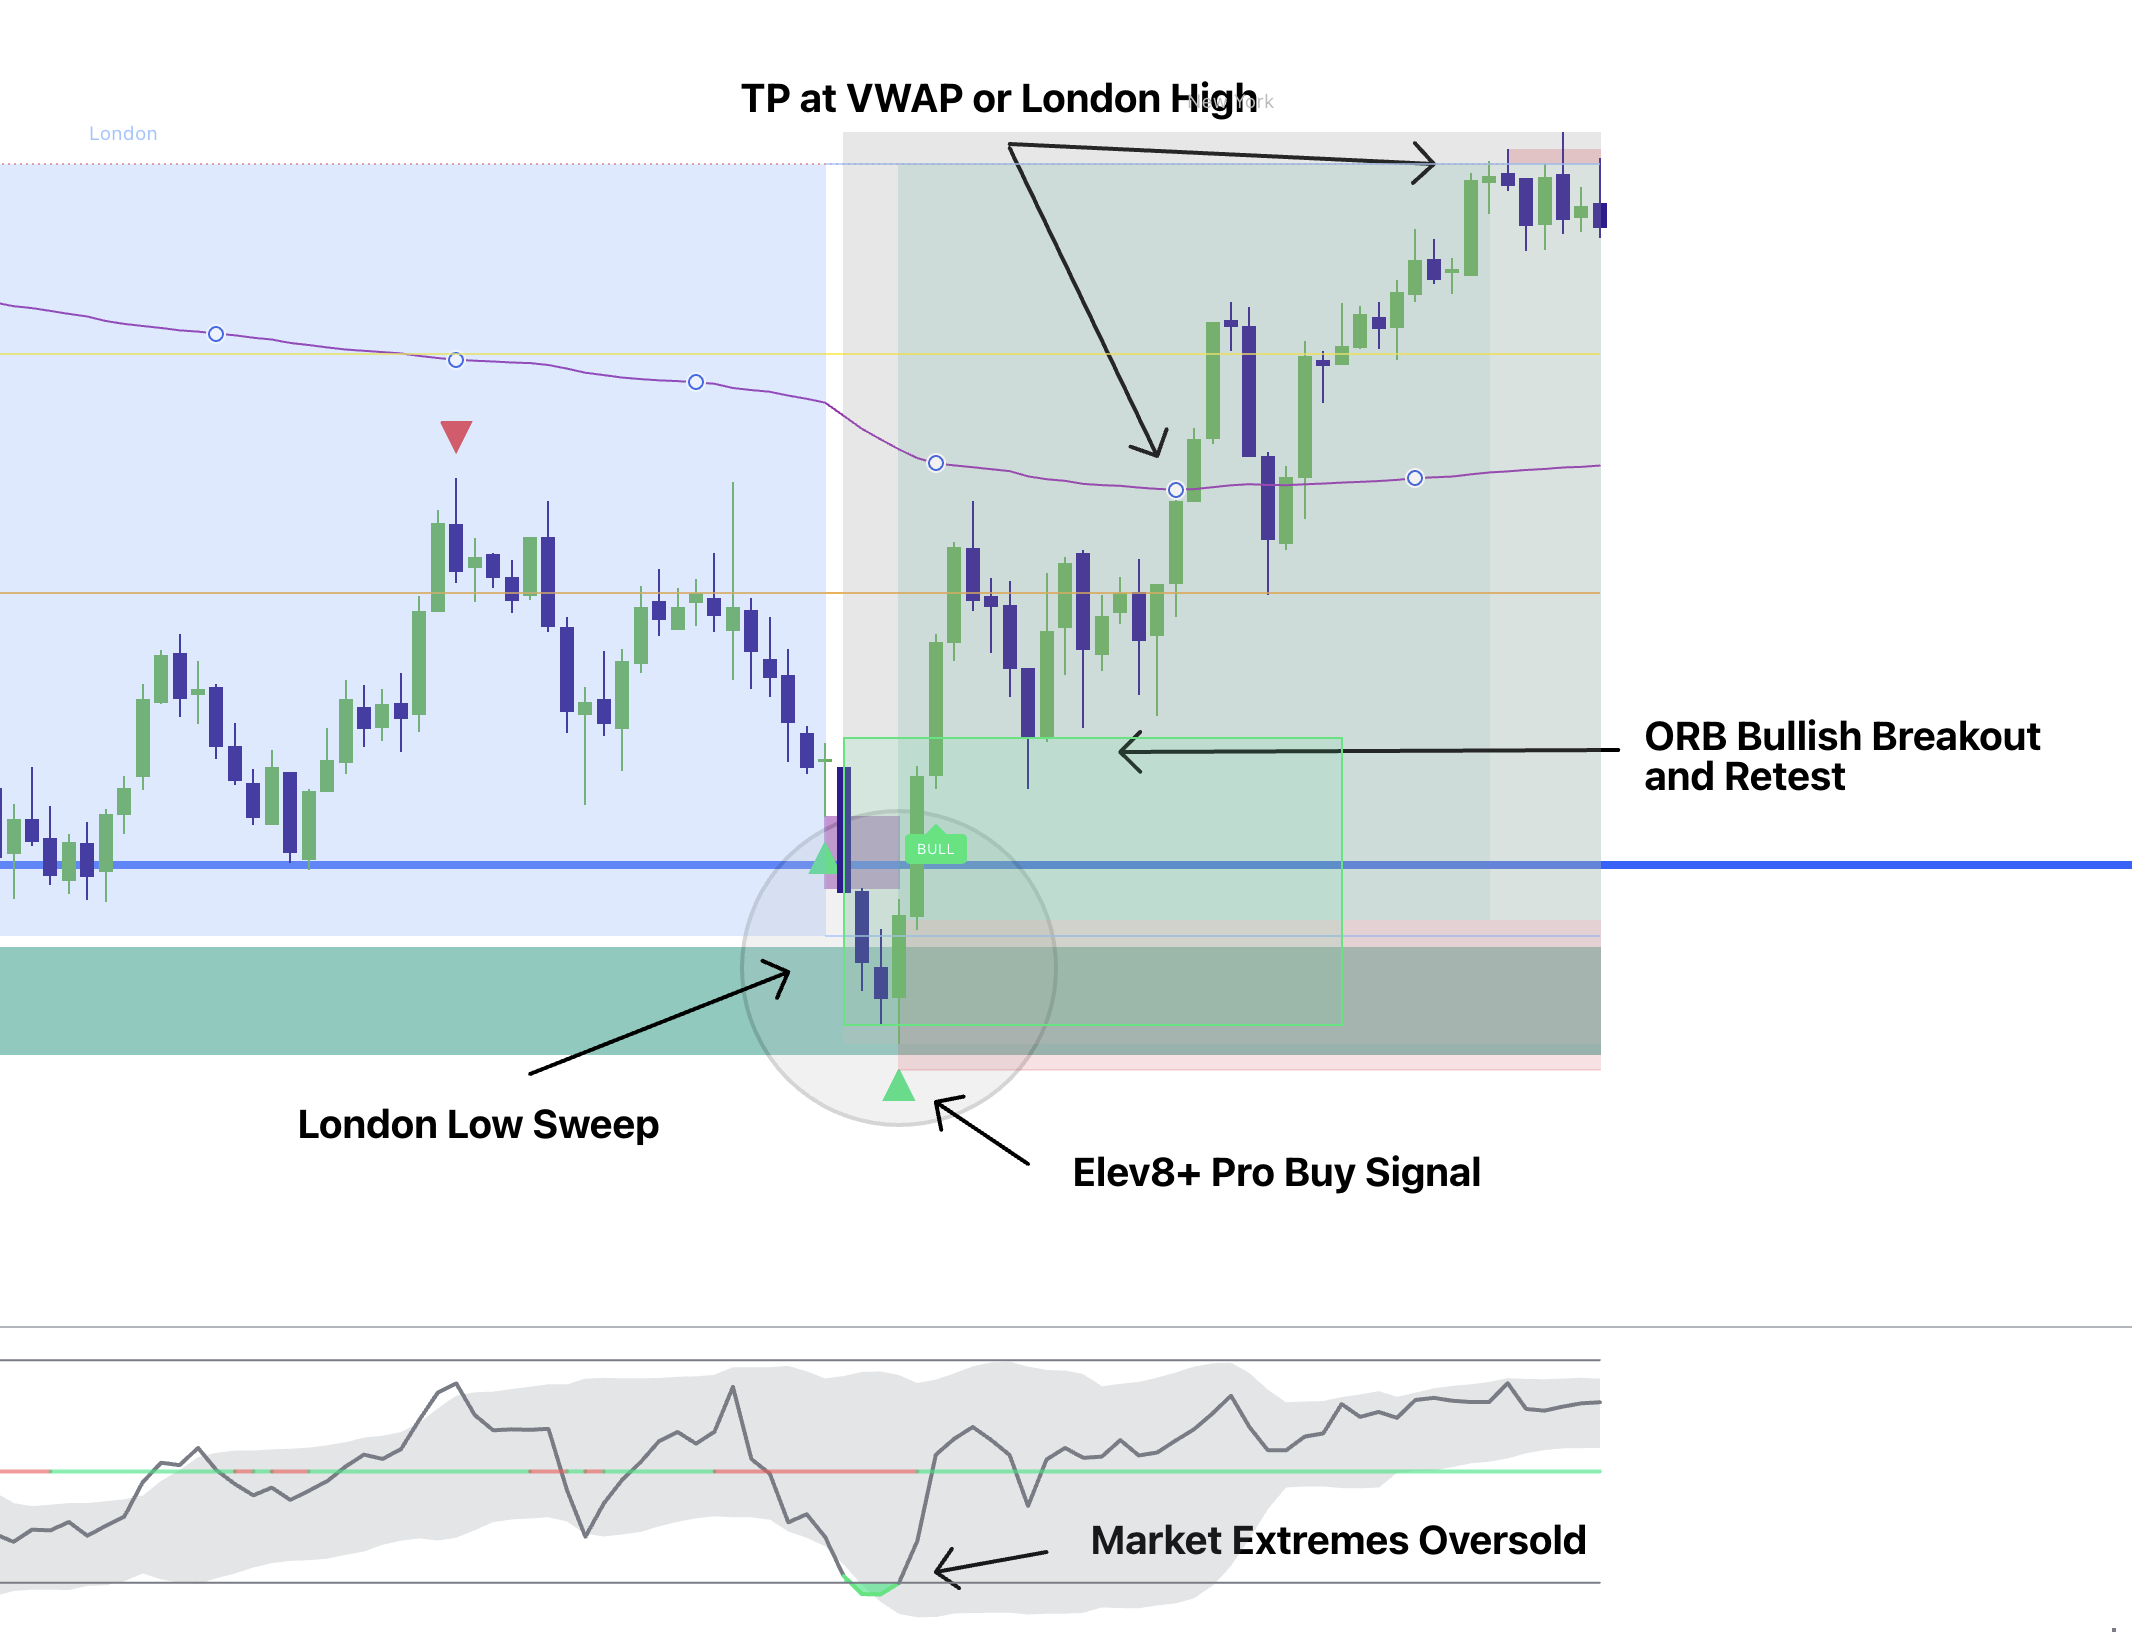
Price should trade into or through a Tier 1 Level (PDH, PDL, Session Extreme, or another major external-liquidity level).
Note: A reversal signal in the middle of a range has far less location-based justification.
Optional confluence: Market Map helps confirm that the level represents meaningful liquidity rather than a minor pivot, and Market Extremes helps show whether price is genuinely extended when it reaches that location.
Price trades through the level but then fails to continue and reclaims back inside. A rejection wick can help, but the stronger evidence is failure outside the level followed by reclaim, opposite displacement, or a micro structure shift.
An Elev8+ Signal (Triangle or LS) should confirm the reversal context at or near the liquidity event—not after price has already rotated far away.
Phase 2: Choosing Your Weapon (Triangle vs. LS)
You will see two types of signals on your chart. The important difference is how much confirmation you require around each one.
Role: Early Detection.
Frequency: Higher.
Use Case: Triangles are useful for awareness, but you still need to verify the liquidity level, rejection, and surrounding structure.
Rule: Never treat a triangle as a standalone entry simply because it printed.
Role: Stricter Confirmation.
Frequency: Lower.
Use Case: LS signals use stricter internal qualification, so they can serve as a more selective confirmation layer.
Rule: Use the Liquidity sweep box as reaction/retest context and define invalidation from structure rather than treating the box itself as guaranteed support or resistance.
Suite note: Triangles/LS are your timing. Use Market Map and Market Extremes to validate location, then use Momentum Gaps, RB/FVG structure, or VWAP to define a realistic rotation objective.
Phase 3: Execution (The Entry & Stop)
Once the setup confirms, choose the entry style that matches the strength of the reaction and your risk tolerance.
- The Entry: An aggressive entry can use the next candle after confirmation; a more conservative entry waits for a controlled retest of the reclaimed level, sweep box, RB, or FVG.
- The Stop Loss (Hard Rule): Place your stop beyond the structure that invalidates the reversal thesis.
Why this stop placement?
The sweep wick is often the correct invalidation point because a clean break back through the extreme can show that the failed-breakout thesis is no longer holding. But the goal is not simply the tightest possible stop—it is a stop tied to the structure that must remain intact. For more advanced users, a close-through invalidation model can be used when it is predefined and sized appropriately, but it should never become an excuse to widen risk after entry.
Phase 4: The Exit (Pay Yourself)
Manage the setup as a rotation toward value first. A larger reversal is possible, but it should be earned by continued displacement and structure.
- Target 1 (The Mean): Consider taking 50-75% of your position off at VWAP, mid-range, or the first meaningful internal-liquidity objective.
- Target 2 (The Runner): Leave the remainder for opposing structure or external liquidity if price continues defending the reversal; reduce remaining risk as new favorable structure forms.
Optional confluence: Momentum Gaps can help you map “rotation checkpoints” through FVG/RB reactions and imbalance fills. This keeps exits structured and also gives you logical areas to trail behind newly defended structure formed in your direction.
The 2R Minimum
Before entering, compare the distance to your realistic first and second objectives against the distance to invalidation. A fixed 2R threshold can be a useful filter, but it should not be applied mechanically if the first objective is much closer. If the available reward does not justify the planned risk, skip the trade.
Phase 5: When to ABORT (The Safety Filters)
Even if the signal prints, stand down if the surrounding behavior contradicts the reversal thesis:
- The "Trend Day" Rail: If the EMA Ribbon is steeply aligned, price is accepting away from VWAP, and pullbacks remain shallow, require much stronger reversal evidence before fading—even at an extreme.
- The "Ugly Wick": If price closes strongly through the level with little rejection, treat that as possible acceptance rather than forcing a sweep narrative.
- The "News Bomb": If a scheduled high-impact event is approaching, follow your predefined news-risk rule and avoid initiating a reversal immediately before the release.
Optional confluence: If Market Extremes shows price is not meaningfully extended, be more selective. Sweep-to-Mean setups are strongest when meaningful liquidity, extension, rejection, and confirmation all support the same reversal thesis.
Summary: The Playbook Checklist
- Price reaches or sweeps a major external-liquidity level such as PDH/PDL, Asia/London High/Low, or another significant HTF swing.
- Price fails to continue and reclaims the level, ideally with rejection or opposite displacement.
- LS or Triangle confirms the reversal context at the correct location.
- Risk Check: Structural invalidation is clear and realistic targets provide enough reward to justify the risk.
- Execute: Use either confirmation or retest entry, stop beyond invalidation, and target value/internal liquidity first before extending toward larger objectives.
- Market Map: Is this sweep happening at meaningful external liquidity or HTF structure?
- Market Extremes: Is price genuinely extended at the level rather than simply trending normally?
- Momentum Gaps: Did the reversal create clean displacement, RB/FVG structure, or a logical rotation path toward value?
This strategy is designed to make reversal trading more structured and repeatable. The goal is not to catch every turn—it is to wait for meaningful liquidity, failed continuation, confirmation, and clearly defined risk before committing to the trade.
Quick Checklist
- I can recognize a qualified Sweep-to-Mean reversal.
- I can choose confirmation only after location and failed continuation are established.
- I can plan structural invalidation and rotation-to-value targets.
What Invalidates the Setup?
Stand aside when meaningful location, the expected price response, confirmation, clearly defined structural risk, or a realistic target is missing. A tool or signal by itself does not complete the trade thesis.
Common Mistakes
- Treating a liquidity touch or signal as an automatic entry.
- Skipping the rejection-versus-acceptance decision.