
What You'll Learn
- Place risk at structural invalidation rather than an arbitrary distance.
- Use planned partials and trailing logic without choking valid trades.
- Exit when the thesis fails instead of negotiating with the position.
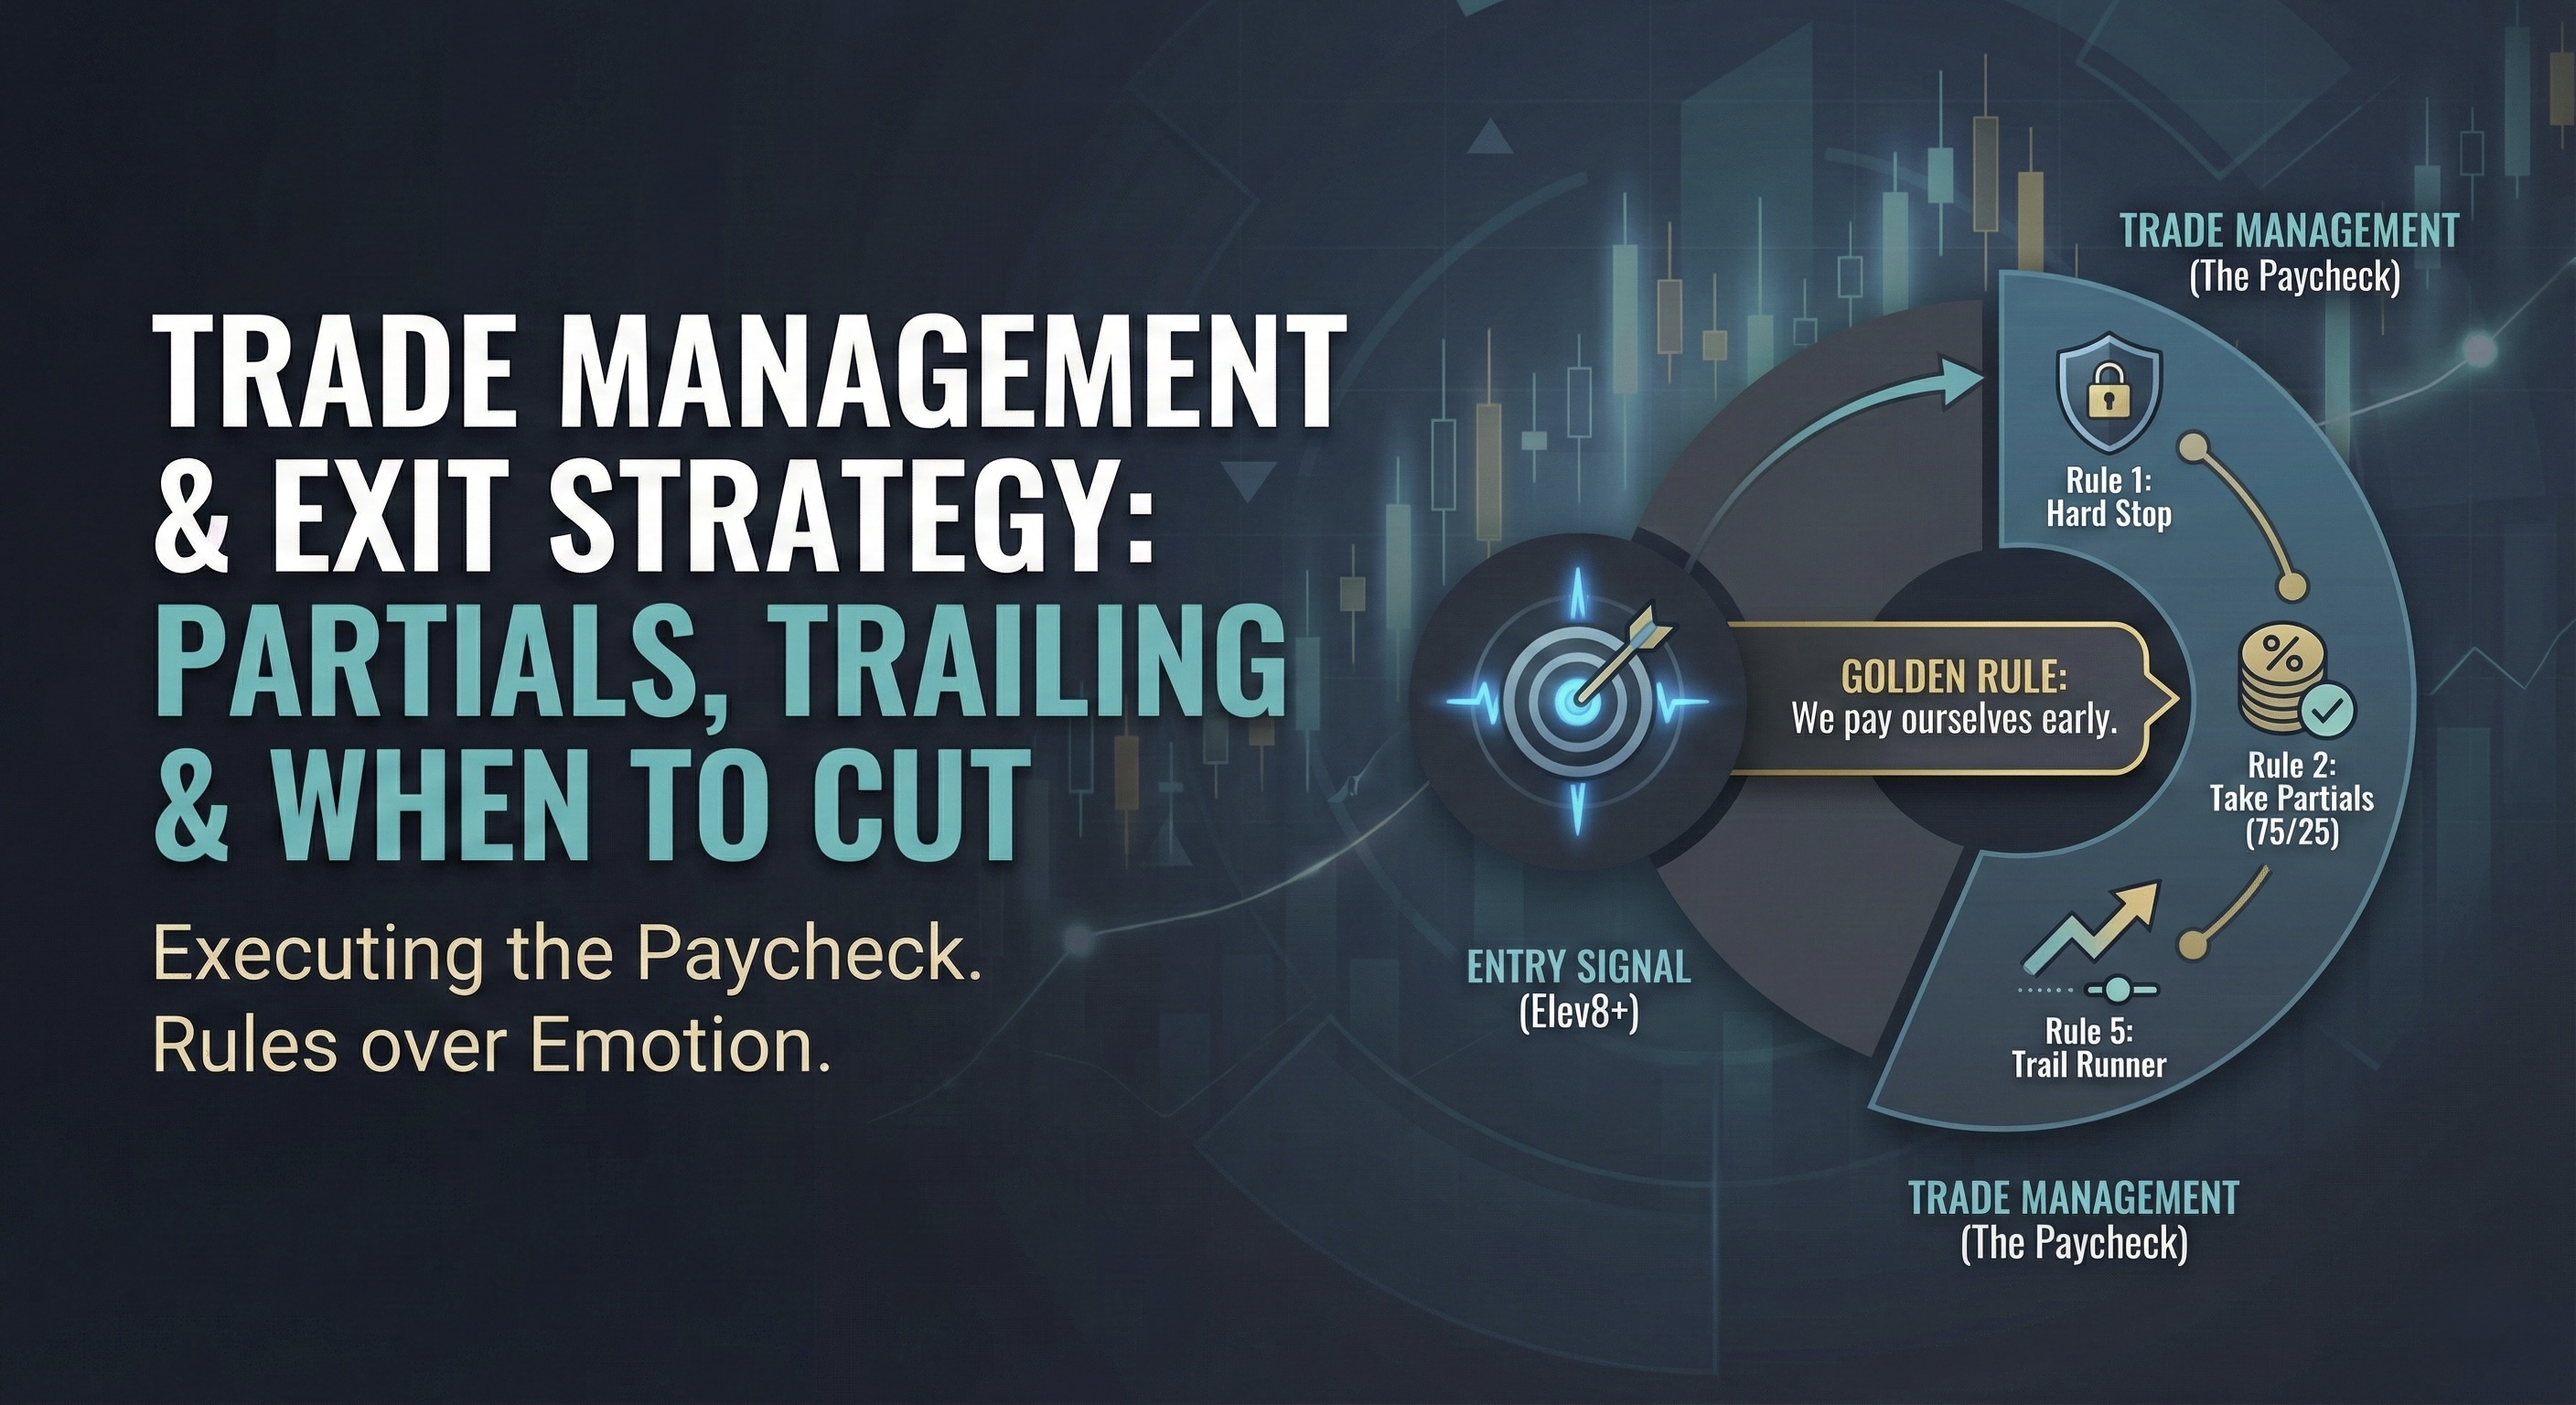
Trade Management & Exit Strategy: Partials, Trailing & When to Cut
A strong entry can still become a poor trade if the exit plan is improvised. Traders often give valid profits back by holding for an unrealistic target, or cut a developing winner because every small pullback feels threatening.
Elev8+ helps identify the setup, but Trade Management determines how much of the move you actually keep. This guide defines a repeatable process for managing risk, taking partials, protecting runners, and cutting trades when the original thesis stops behaving correctly. Plan first. Execute second. Avoid managing from emotion.
The Golden Rule of Reversals
Most Elev8+ sweep reversals should be managed as Rotations (Sweep → Value) first, not assumed to become full trend reversals.
The first objective is usually nearby internal liquidity, VWAP, mid-range, or another clear value reference; a larger continuation is a bonus, not a requirement.
Pay yourself at planned objectives.
You can manage trades with Elev8+ Pro alone, but the full suite can make exits more objective: Market Map helps identify the next meaningful liquidity objective beyond the initial rotation, Market Extremes helps judge whether price is still extended or has already normalized, and Momentum Gaps helps identify FVG/RB reaction zones and structural checkpoints so targets are tied to price behavior rather than guesswork.
Rule 1: The Hard Stop (Invalidation)
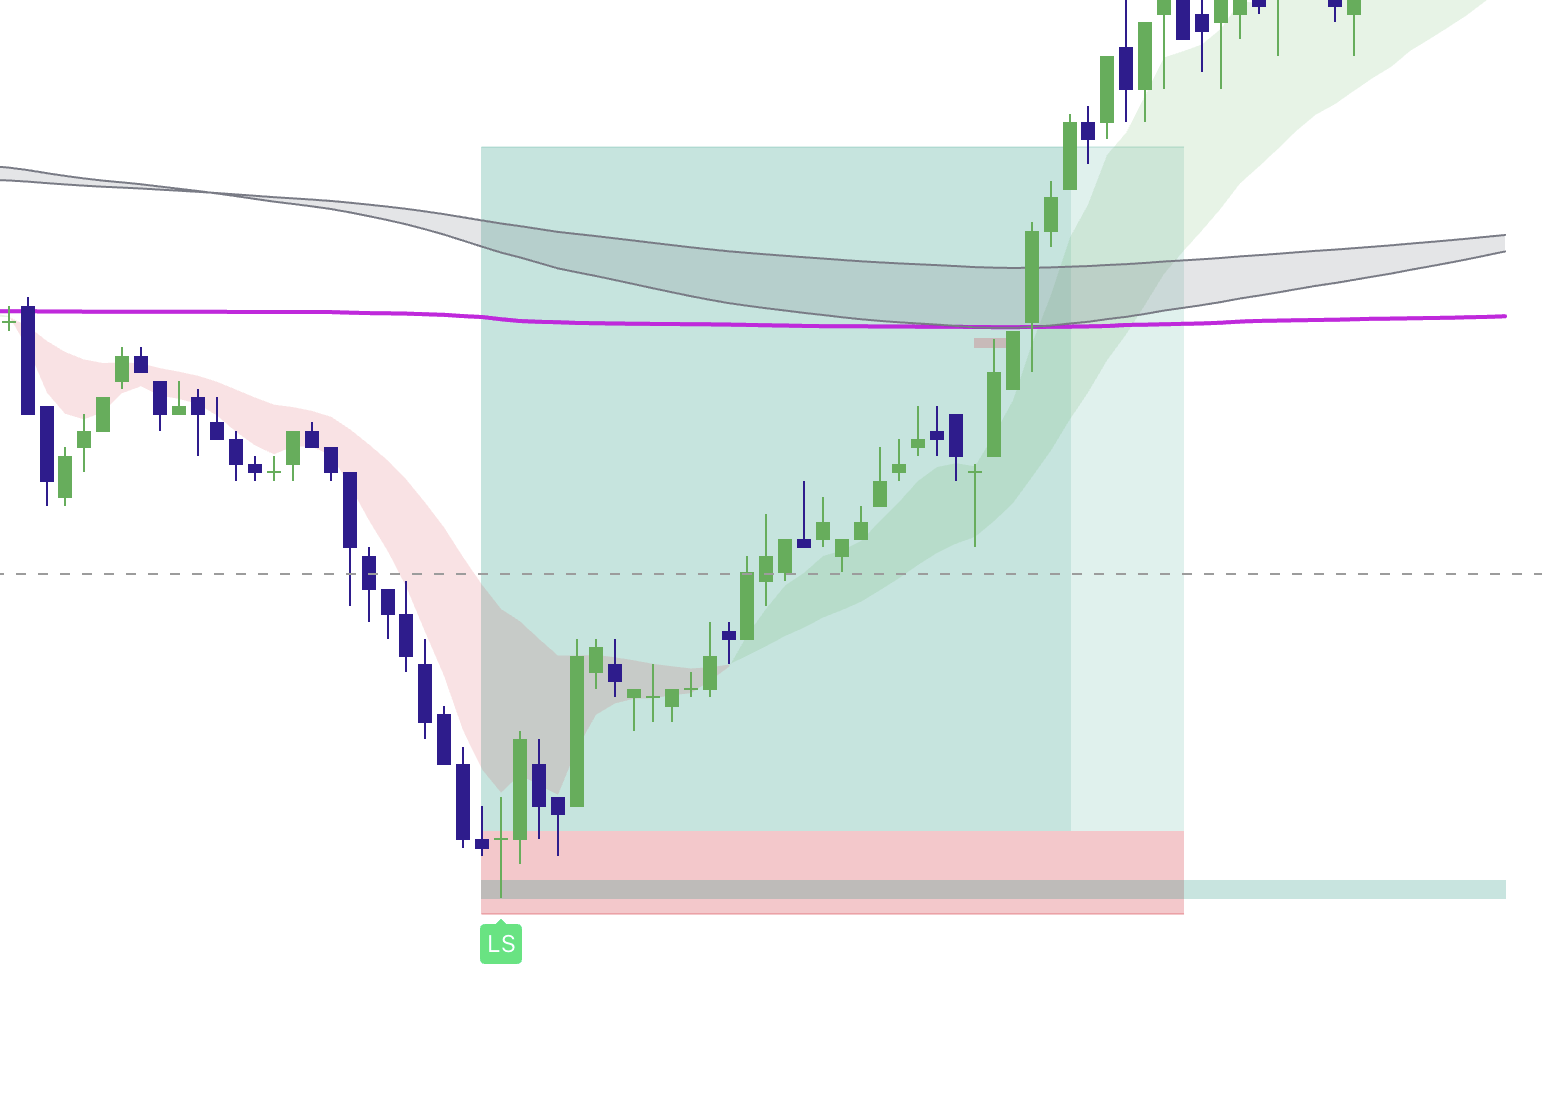
Before you enter, define the price action that would prove the setup wrong. In a sweep trade, the sweep extreme is often important—but the real rule is structural invalidation.
Your Stop Loss belongs beyond the structure that invalidates the Sweep Thesis.
- Why? The sweep wick often defines the failure point, but the correct stop is beyond the level that must hold for the reclaim/reversal thesis to remain valid.
- The Mistake: Do not widen the stop after entry simply because price is approaching it. If the planned invalidation is reached, the trade idea has failed and should be reassessed or closed.
Rule 2: The "Paycheck" (Taking Partials)
Reversal trades often rotate toward nearby value before proving whether a larger move will develop. A simple management template is the 75/25 Split.
- When price reaches VWAP, the Mid-Range, or another preplanned first objective, consider closing 75% of your position.
- Why? The first objective captures the primary rotation without requiring the market to complete a much larger reversal. Banking a planned partial reduces open risk and makes the remaining position easier to manage.
Optional: If you use Momentum Gaps, treat FVG/RB reactions and imbalance fills as “rotation checkpoints” on the way to VWAP/mid-range. If you use Market Map, confirm the next meaningful liquidity objective so Target 1 is based on structure rather than a fixed distance.
- Leave the remaining 25% for Opposing Structure or the next external-liquidity objective when follow-through remains strong.
- Why? Some rotations develop into broader reversals or trend changes. The smaller runner keeps exposure to that possibility without requiring the entire position to reach the extended target.
Rule 3: Breakeven (The "Free Ride")
Moving your stop to Breakeven (BE) reduces remaining trade risk, but moving it before price earns that protection can turn normal retracement into an unnecessary exit.
A practical default is to consider Breakeven AFTER the first partial or after structure clearly advances in your favor.
- Moving to BE immediately after entry can place the stop inside normal market noise before the reversal has created enough separation.
- After Target 1 is reached or a new defended structure forms, reducing the runner's risk becomes more logical. Breakeven removes the original price risk, but slippage, commissions, and execution risk can still exist.
Rule 4: The "Professional Cut" (Advanced Skill)
Sometimes a trade has not reached the hard stop, but the behavior that justified the entry is disappearing. Experienced traders can cut or reduce these trades before full invalidation when predefined warning conditions appear.
- The Stall: Price sweeps and confirms, but then fails to produce the expected displacement or follow-through for several execution-timeframe candles.
- The Grind: Price repeatedly builds structure against your position and begins accepting back toward the invalidation level instead of rotating away from it.
- The News: A scheduled high-impact event is approaching and your trading plan does not allow holding through it. Follow the preplanned news-risk rule rather than making a last-second emotional decision.
The 5-Minute Rule
Do not use a fixed five-minute timer as a universal probability rule. Instead, define a reasonable follow-through window for the timeframe you trade. If a reversal setup fails to produce expected displacement within that window, consider reducing risk or exiting based on the weakening thesis.
Rule 5: Trailing the Runner
For that final 25% runner, avoid tightening the stop simply because the trade is profitable. Trail it only when the market gives you new structure to protect.
- Don't: Trail bar-by-bar or behind every micro swing; normal retracements can remove you from an otherwise valid move.
- Do: Trail behind Market Structure. For a long, protect beneath a confirmed higher low or defended zone; for a short, protect above a confirmed lower high or defended zone.
Optional: Use Market Map to identify meaningful liquidity and structure ahead of price, and use Market Extremes to judge whether the runner is becoming extended rather than tightening stops because of ordinary micro noise.
Summary: The Management Checklist
- Entry: The trade thesis and management plan are defined before execution.
- Protection: Hard Stop is placed beyond structural invalidation.
- First Objective: Target 1 is mapped at VWAP, mid-range, internal liquidity, or another preplanned rotation objective.
- Wait: Let price reach the stop, target, or a predefined early-exit condition instead of reacting to every candle.
- Success: Target 1 is reached, partial profit is taken, and remaining risk is reduced when structure allows.
- Bonus: Runner remains open only while the market continues defending the reversal and progressing toward the next major level.
Trade management is not about maximizing every winner. It is about keeping losses controlled, realizing planned profits, and preserving exposure when the market earns the right to continue. A repeatable exit process makes the strategy measurable instead of emotional.
Quick Checklist
- I can place risk at structural invalidation rather than an arbitrary distance.
- I can use planned partials and trailing logic without choking valid trades.
- I can exit when the thesis fails instead of negotiating with the position.
What Invalidates the Setup?
Stand aside when meaningful location, the expected price response, confirmation, clearly defined structural risk, or a realistic target is missing. A tool or signal by itself does not complete the trade thesis.
Common Mistakes
- Choosing size before defining structural invalidation.
- Improvising entries, exits, or rules after the trade begins.